Getting started with Django
In this section we will create and deploy a new application in the Divio Control Panel using Django, the most popular Python web application framework. The application will be set up in Docker.
This tutorial assumes some basic familiarity with Django. It is intended to introduce the basics of working with Divio, using Django. It is not a tutorial for learning Django.
The principles covered by the tutorial will apply to any other development stack.
If you're already familiar with the basics of Divio or have experience with Docker and cloud platforms in general, our guide on how to create and deploy a generic application is also a great starting point.
Set up a Divio application in the Cloud
Create the application
Start by creating a free account on the Divio Cloud and head over to create a new application.
Any web application in any language can run on Divio, as long as there is nothing that prevents its being Dockerised. For convenience we provide some ready-to-go application templates in Node, Python, Java, .NET, PHP, Ruby and others. Use of these is optional. You can also start with a Blank template, in which you build your application from a vanilla sheet.
For this tutorial, select:
- Django as the application template and hit Next.
This will use our getting-started-with-django template to create a new application.
Divio Cloud Applications use Git for code management. We provide a Git server that your Applications will use by default; you can also choose "External" to use your own Git service if you prefer. For this tutorial, use our Divio server.
- Hit Next, then give your application a Name and select your subscription plan.
For this tutorial, use the Free Trial plan and hit Create application.
It takes a few moments to create the Application. During this process, the Control Panel defines the basic application files for your application by adding commits to its repository. This could include assembling its Dockerfile and other files, depending on the application type.
Application environments
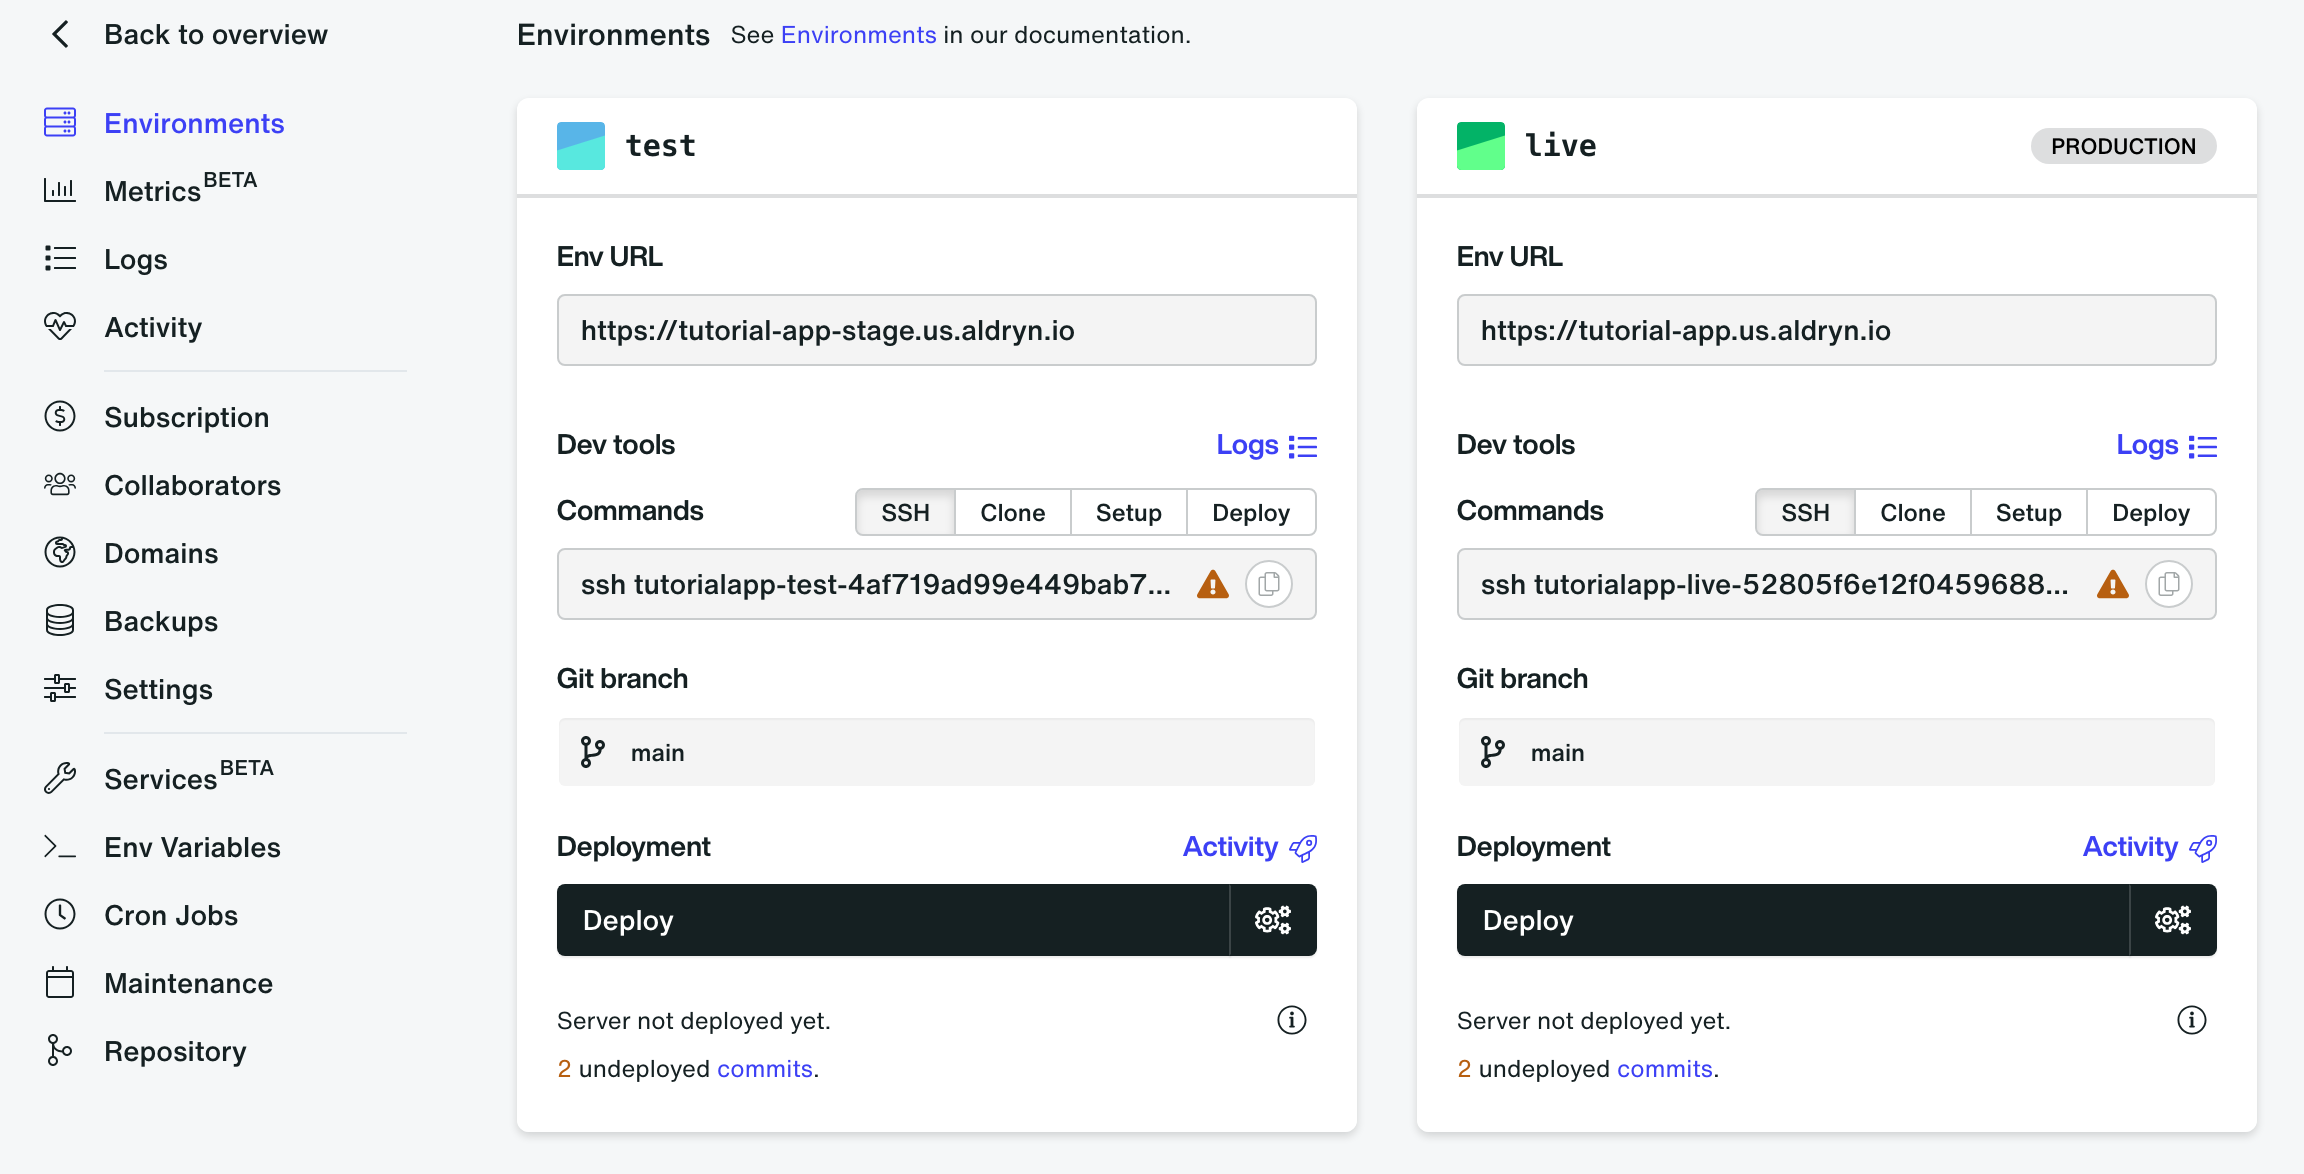
Your Application has two independent server environments, Test and Live . The Test and Live environments have their own services, and unique environment variables to configure access to them. They can be deployed independently, and can also be configured to track different Git branches.
Deploy the application
Divio requires a payment card verification as one of the counter measures against abusers. Go to the organisation settings of your application, select billing and complete the payment method to be able to deploy. The verification process won't charge your card. Refer to why Divio requires payment card verification for more details.
Once the application creation is completed, use the Deploy button to deploy the environment. For instance deploy the "Test" environment.
The deployment process first builds the Docker image from the Dockerfile, and then launches a Docker container from the image. The container environment will include automatically-configured environment variables for connections to services such as the database, media storage and so on.
Typically, this takes a minute or so.
Open the Test environment website
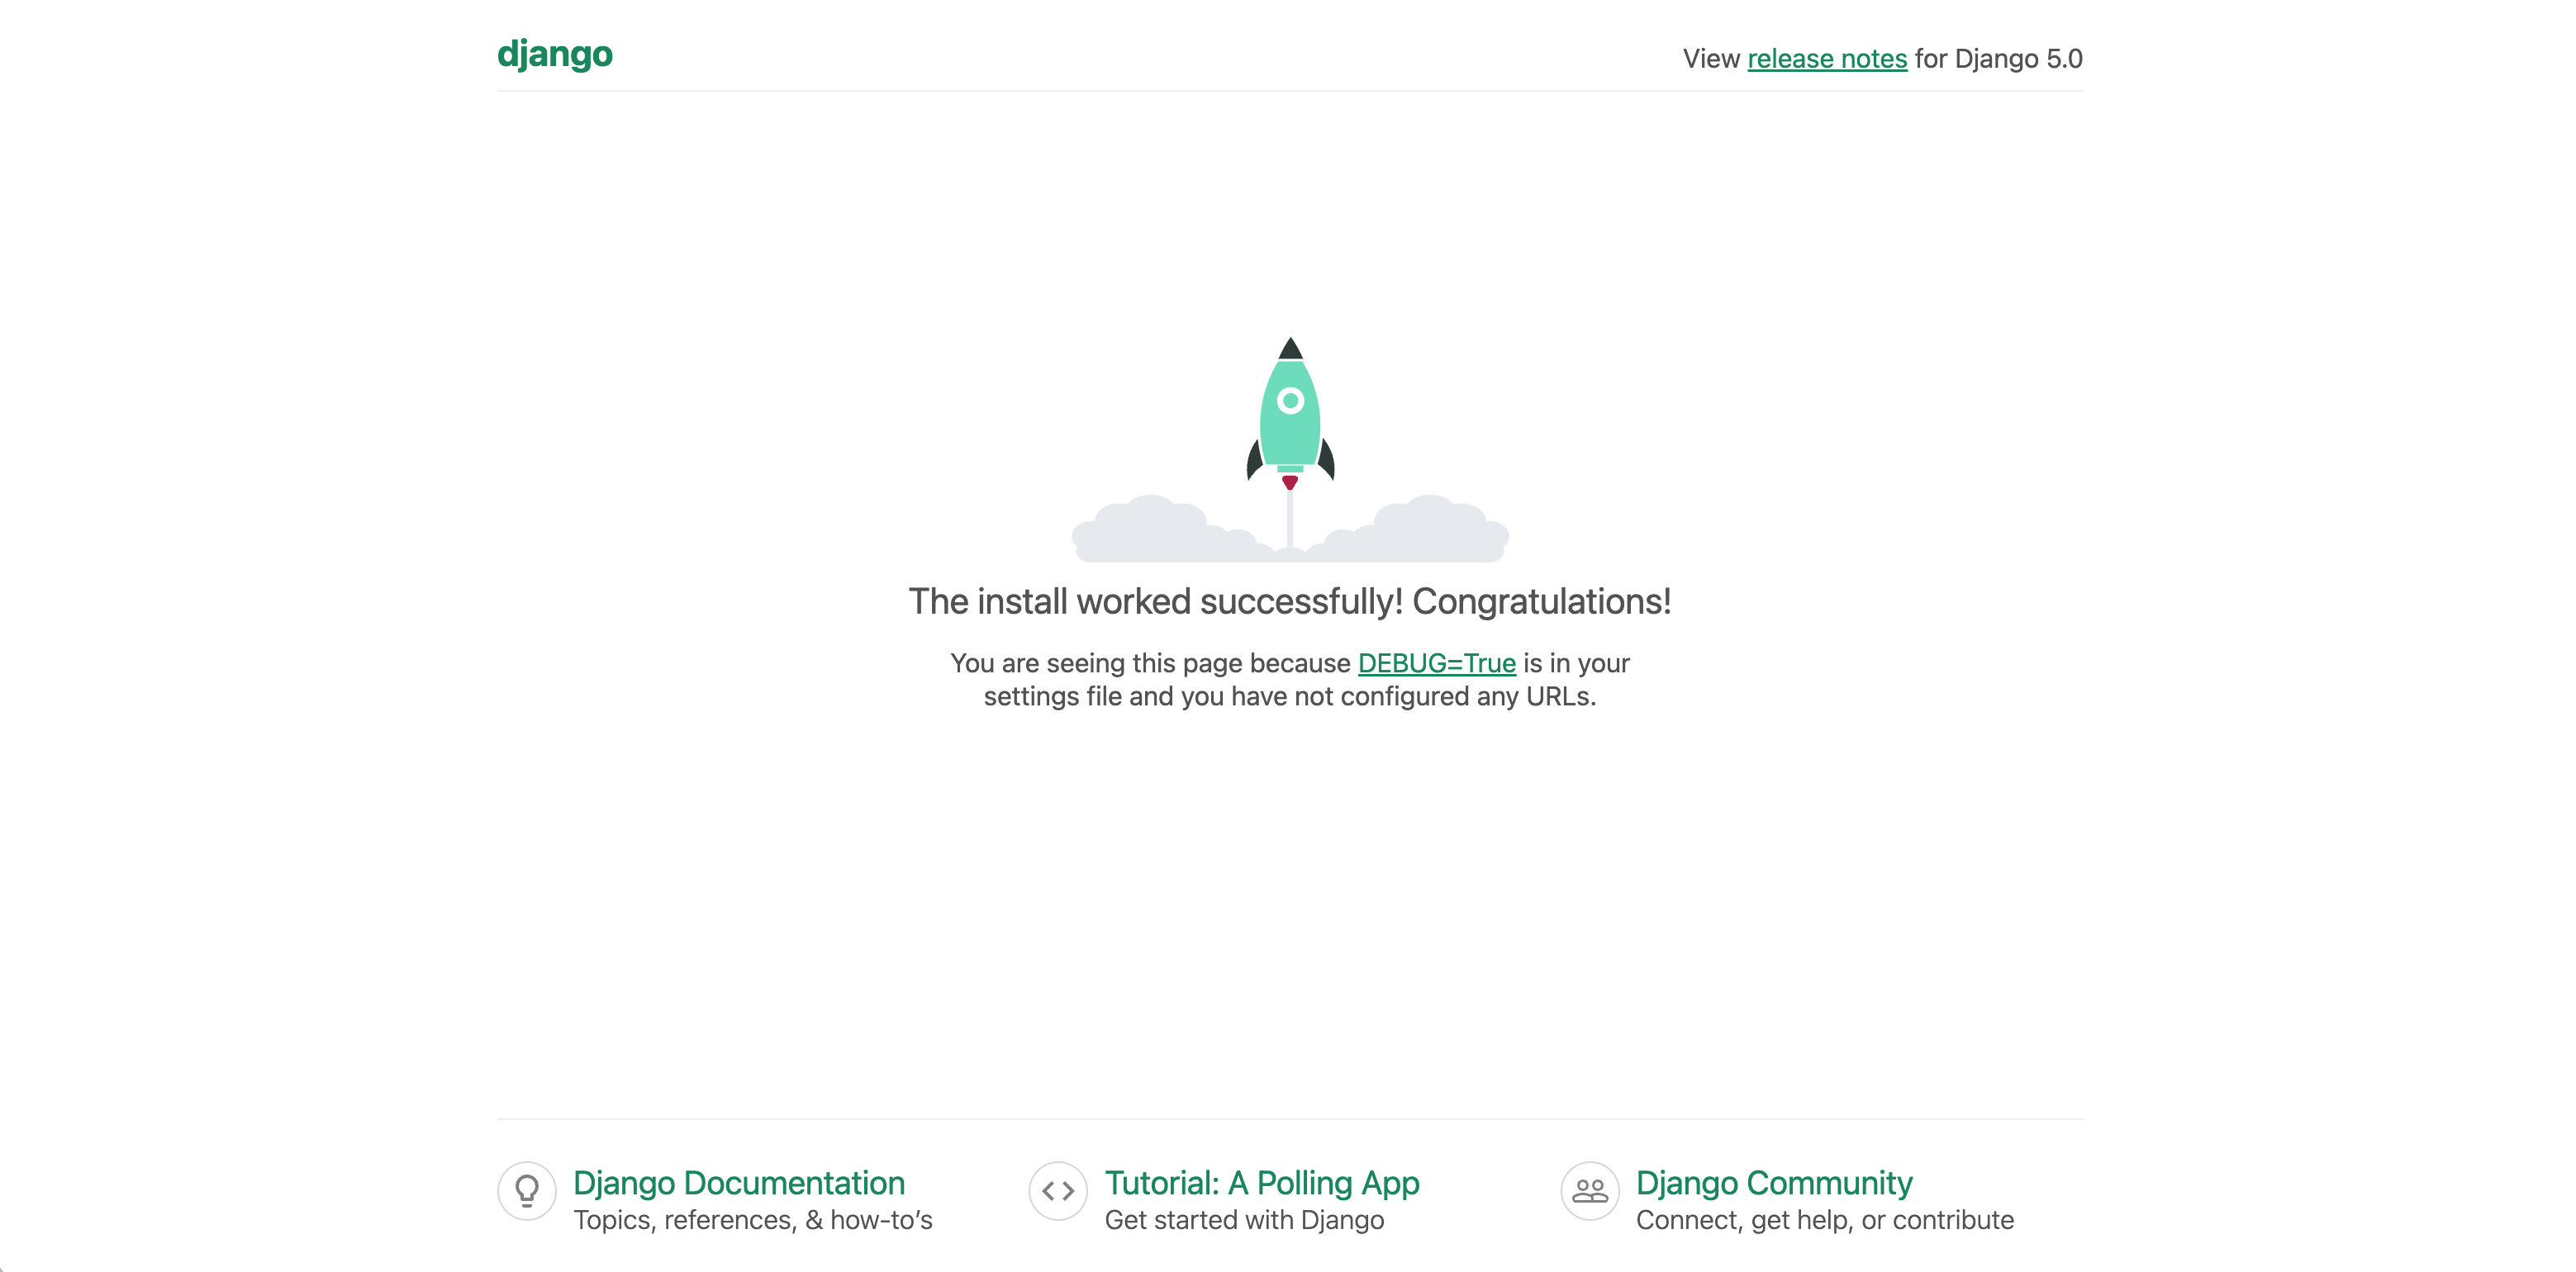
Once you have successfully deployed the "Test" environment, the Control Panel will indicate this in the interface with a "Last deployment succeeded at ..." message and the application URL in the "Test" environment pane will display as a link, for example https://your-app-stage.us.aldryn.io. Select the link to access the application.
You'll see the Django starting page.
Please note that the admin user is not created automatically. To set it up, connect via SSH and manually run:
python manage.py createsuperuser
You can find the SSH command on your applications dashboard under Dev tools > Commands within the desired environment.
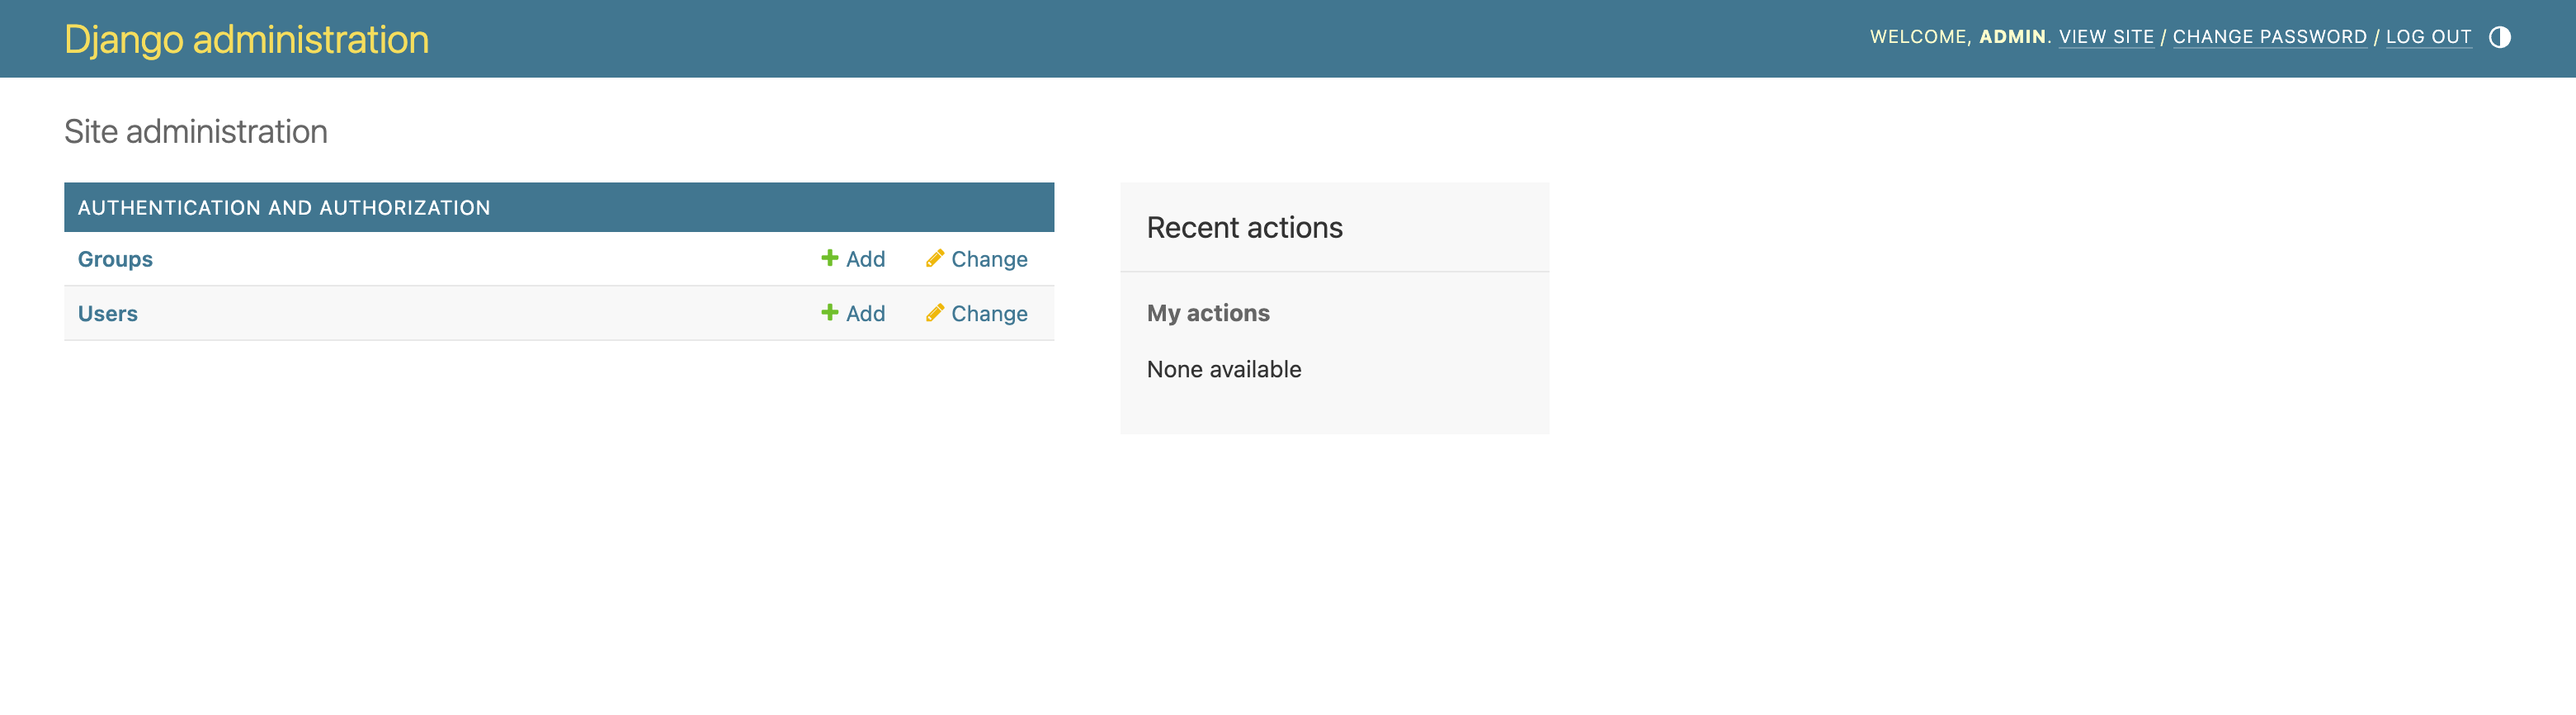
You can access the Django admin page, at /admin.
By default, your application includes pre-configured media storage and a database. These configurations are set in settings.py. For local development, FileSystemStorage handles media storage, and a PostgreSQL container manages the database. Use the Divio CLI to interact with both cloud and local storage, as well as the database.
About deployment
Any time new changes to the application code are committed to its repository, the Control Panel will indicate this with a message showing the number of undeployed commits for each of its server environments.

New code and configuration changes applied via the Control Panel (to cron jobs, environment variable, domains or other settings) will not take effect on either server environment until it is deployed once again.
If for whatever reason a deployment fails, there will be no down-time. The containers that are currently running will continue running, and the failing changes will not be deployed.
Explore the dashboard
The Divio application dashboard provides you with access to useful controls and information for the application. They are fairly self-explanatory and at this stage you don't need to interact with any of them, but it's worth familiarising yourself with what's available.
Enable Beta options
We often expose new functionality to users who opt-in to Beta features. You can do this in your account settings.
Set up your Divio application locally
Have you set up the local environment?
If not, set up the local development environment now before proceeding.
In this section, you will build the new application you've created in the local development environment; that is, you will set it up on your own computer.
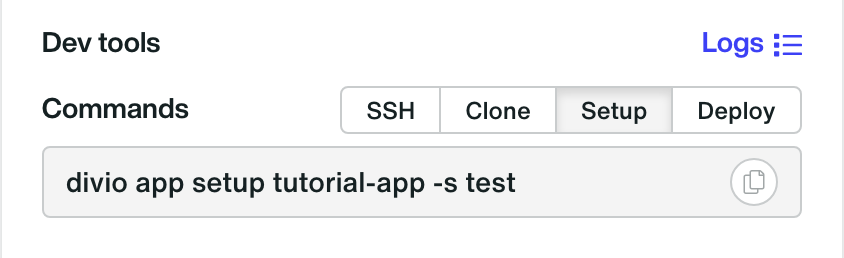
Obtain the setup command from the Dev tools available on the application dashboard for each environment. For instance, the Test environment:
Build the application locally
Run the command you obtained from the Dev tools. For example, if your application slug is tutorial-app for the test environment, the setup command will be:
divio app setup tutorial-app -s test
The Divio CLI will execute a number of steps to build your application locally. This may take a few minutes, depending on how much needs to be downloaded and processed.
As well as cloning the repository and building the application, the setup command will add a .divio directory containing some Divio-related configuration that connects it to the Control Panel.
cd into the newly-created application directory, where you will find your application code.
The divio app setup command runs docker compose up for you in the background.
docker compose run --rm web python manage.py migratedocker compose run --rm web python manage.py createsuperuserStart the local application�
Start the application by running docker compose up in the terminal.
You may notice above that the server claims to be running on port 80, not port 8000. It is - but that's only inside the container. The docker-compose.yml configuration file is responsible for this port-mapping.
To view your application, open your web browser and navigate to http://127.0.0.1:8000.
CONTROL-C will stop the application.
See below for more on the use of docker compose.
Local commands
Up to this point, you've used the divio and docker compose commands. Additionally, having a basic understanding of docker can be beneficial. These commands will be particularly useful if you encounter any issues.
Using divio
The divio command is used mainly to manage your local application's resources and to interact with our Control Panel. You have already used divio app setup; you can now try:
divio app dashboard
See the Divio CLI reference for more.
Using docker
The docker command is mostly used to manage Docker processes, images, and containers (rather than applications as a whole) and Docker itself. This can be useful when you need to understand what Docker is doing on your machine, or for certain operations.
For example, if you have your application running locally (with docker compose up) open a new terminal window to run:
docker ps
This will show you the Docker processes that are running - you will see something like this (note that the details will differ depending on what you actually have running):
➜ docker ps
CONTAINER ID   IMAGE                  COMMAND                  CREATED          STATUS          PORTS                    NAMES
796102576c6d   tutorial-app-web       "/docker-entrypoint.…"   40 minutes ago   Up 12 minutes   0.0.0.0:8000->80/tcp     tutorial-app-web-1
In this example, the container represents an instance of the image that you setup or built locally. Upon deployment, a similar container will be running in a cloud environment.
You have already used docker ps. Try:
docker info
Using docker compose
The docker compose command is used mainly to control and interact with your local application. For example, you can use:
docker compose buildto build your applicationdocker compose upto launch your application.
You can also start the local application and open a shell in the local web container.
For instance, try:
docker compose exec web bash
This command will open a bash shell in the running web container. You can then run commands like ls within the container. To exit the container's bash shell, simply type exit.
See the getting-started-with-django repository for more information on how to interact with the application.
Other useful commands
See our local commands cheat sheet for many more useful commands.
You have now set up an application in the local environment, and launched it. The next step is to do some further development work in the application, test it, and deploy it to the cloud.