Add and configure a Postgres database
In this section, we'll configure the application to use a Postgres database, both locally for development, and on the cloud for deployment.
Create the database
For the cloud environments
The Services are currently in Beta. You can enable Beta features in your profile.
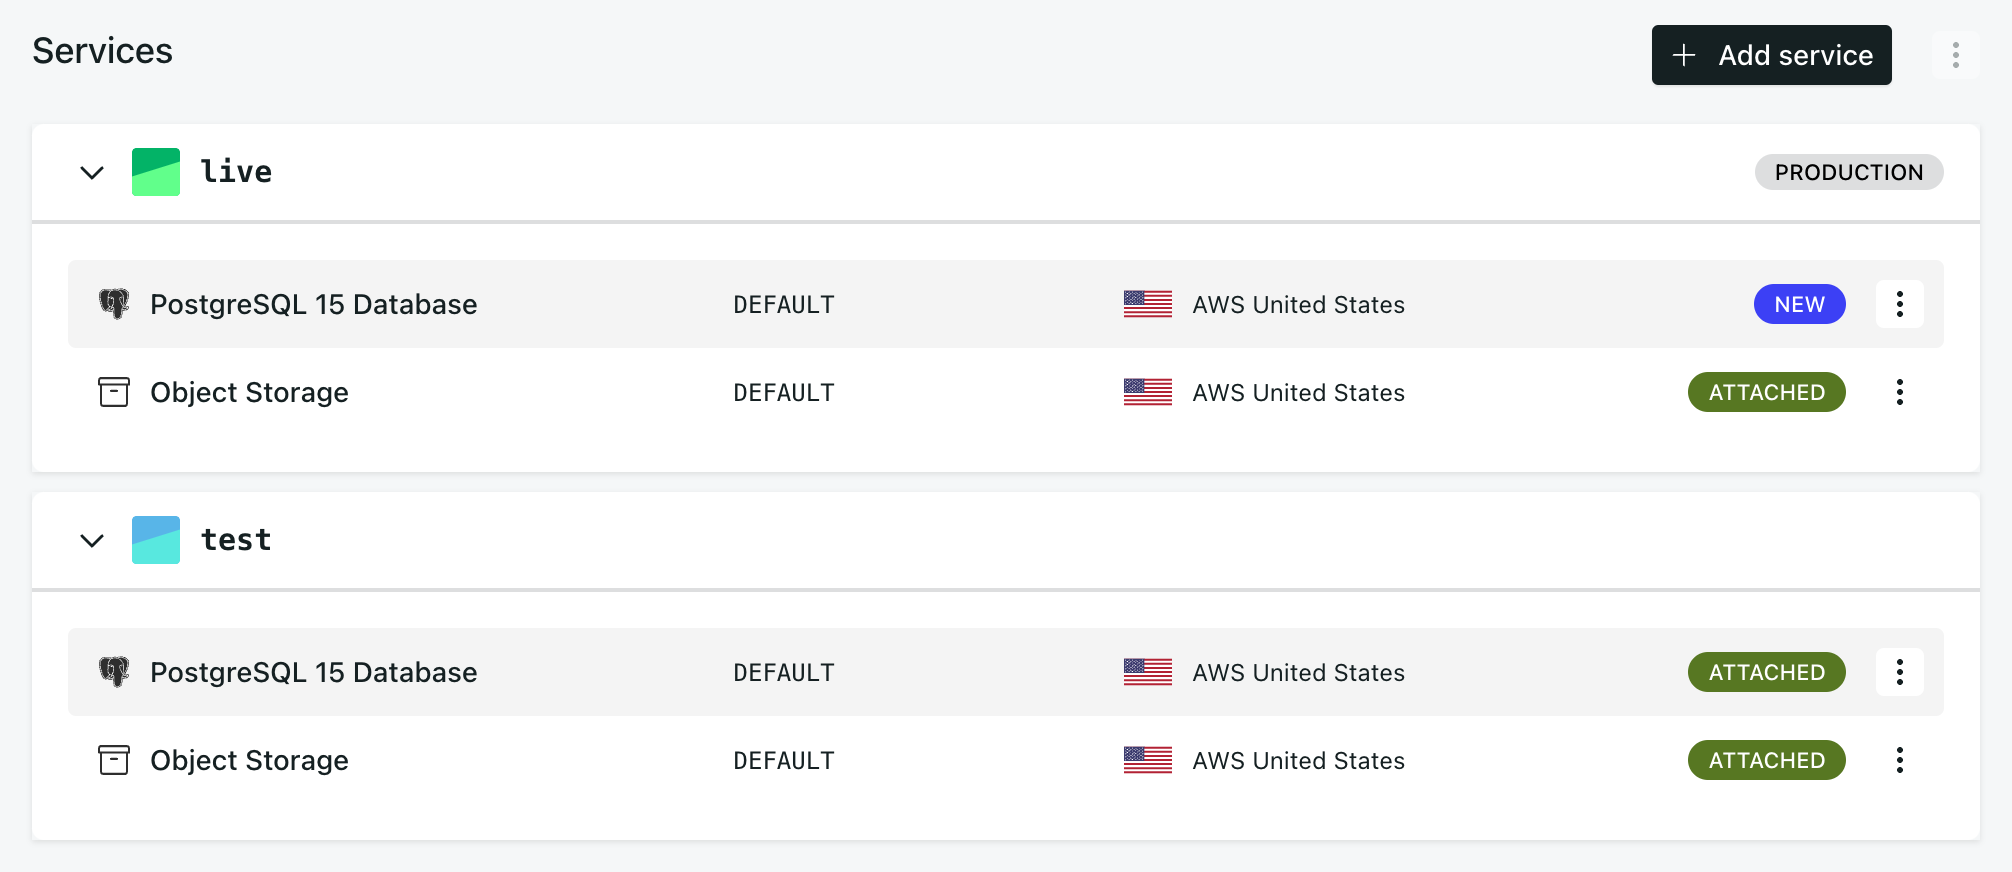
In the application's Services view, add a PostgreSQL database. When you next deploy, or if you manually select Provision from the services options menu, it will be provisioned for the application. Do one of these two things now.
Locally
For development purposes when working locally, we should also have a database. It's not so easy to set up the right
version of Postgres locally, especially when working with multiple applications, and as a result many Django developers
content themselves with using SQLite locally, simply because it's an easy-to-use default. However, it's much better to
use the same database in development as you do in deployment, and Docker Compose can take care of this for you too.
Edit your docker-compose.yml to add some new lines:
services:
  web:
    # the application's web service (container) will use an image based on our Dockerfile
    build: "."
    # Map the internal port 80 to port 8000 on the host
    ports:
      - "8000:80"
    # Map the host directory to app (which allows us to see and edit files inside the container)
    volumes:
      - ".:/app:rw"
    # The default command to run when launching the container
    command: python manage.py runserver 0.0.0.0:80
    # a link to database_default, the application's local database service
    links:
      - "database_default"

  database_default:
    # the application's web service will use an off-the-shelf image
    image: postgres:18-alpine
    environment:
      POSTGRES_DB: "db"
      POSTGRES_HOST_AUTH_METHOD: "trust"
      SERVICE_MANAGER: "fsm-postgres"
    volumes:
      - ".:/app:rw"
      - "database-default:/var/lib/postgresql/data/"

volumes:
  database-default:
The next time you launch the application locally, it will include a Postgres database running in a database_default container.
Configure database access using an environment variable
Configuration for application services is stored in environment variables, following the Twelve-Factor model. These variables will need to be parsed by the application. For the database the values are provided via an environment variable named DATABASE_URL, a Data Source Name, in the general form:
scheme://username:password@host:port/path?query#fragment
The variables are provided in the cloud environments as soon as the service is provisioned. We should add a variable
to the local environment too. The easiest way to do this is again with the help of docker-compose.yml.
First, create a new file called .env-local, and add the variable to it:
DATABASE_URL=postgres://postgres@database_default:5432/db
If you're familiar with Postgres, you'll recognise its default user and port in the URL.
Then add a new line to the web section in docker-compose.yml to tell it where it should find the variables for
the environment it creates:
  web:
    [...]
    links:
      - "database_default"
    env_file: .env-local
Now in every runtime environment, the application will find the correct database connection values:
- in a cloud environment, it will find variables provided by the cloud infrastructure
- locally it will use the ones we supply via
.env-local
Again, this follows the Twelve-Factor principles. We manage one codebase in version control, and deploy exactly the same codebase in every deployment - even locally.
Use the environment variable in our settings
The next task is to connect the application to the database (we will use the Python psycopg2 library) and parse the
URL with connection details (using dj_database_url).
List both libraries in requirements.txt:
django>=4.2.7
uwsgi==2.0.23
psycopg2==2.9.9
dj-database-url==2.1.0
Rebuild the image once more to include the new packages.
docker compose build
Then in settings.py, add (replacing the existing DATABASES setting):
import os
import dj_database_url

[...]

DATABASE_URL = os.environ.get('DATABASE_URL')
DATABASES = {'default': dj_database_url.parse(DATABASE_URL)}
We're now in a position to use the database for the first time. The first thing to do is create Django's tables, by running migrations, and then add an admin user to the database:
docker compose run web python manage.py migrate
docker compose run web python manage.py createsuperuser
The next time you run docker compose up, you'll be able to log in to the admin.
If you don't see the expected styling of the Django admin, it's probably because the site is running with uWSGI
rather than the runserver - check whether you left the command line in docker-compose.yml commented out.
Deploy your changes
It is worth verifying that the site now runs on the cloud too. Commit the changes you've made:
git add docker-compose.yml myapp requirements.txt .env-local
git commit -m "Added database configuration"
git push
and deploy:
divio app deploy
.env-localConfiguration secrets should not be committed to code repositories.
In this case, there is nothing in .env-local that can't be safely committed, and having the
DATABASE_URL in there means that if a colleague needs to set up your Divio application, they will that in
there too, ready to use in their own local environment. However if you were testing functionality that required you
add a secret key, for example to use some external service, you should take care not to commit that.
Your local database has been migrated and you have created an admin superuser. In the cloud environment, the Django database tables have not yet been created, so if you try to access the admin there, you'll naturally get an error:
ProgrammingError at /admin/login/
relation "auth_user" does not exist
LINE 1: ...user"."is_active", "auth_user"."date_joined" FROM "auth_user...
So let's push the local database, which does contain the required tables, to the cloud. The Divio CLI includes a convenient way to do this. Run:
divio app push db
This will push the local database to the cloud Test environment. Once the process has completed, you can refresh the
cloud Test site; you'll be able to log in at /admin with your admin user credentials.
Similarly, you can push/pull media files, and also specify which cloud environment to target. See the local commands cheatsheet. A common use-case is to pull live content into the development environment, so that you can test new development with real data.
You can also execute commands like python manage.py migrate directly in the cloud environment. Try it - use divio app ssh (or copy the SSH URL from the Test environment pane) in the Control Panel, and use it to open a session
directly to a cloud container. Then try, for example:
python manage.py migrate
or:
python manage.py shell
You now have a production-ready database, for your cloud environments, and the same database engine running locally, with a convenient way to move content between them. Your codebase remains clean - it's the same codebase in all those environments - and configuration is devolved to its environments.
In the next section, we'll configure static file serving.