Create a new Django application
If you're already familiar with the basics of Divio or have experience with Docker and cloud platforms in general, our guide How to create and deploy a Django application is probably more appropriate.
If not, do that now before proceeding.
In this tutorial you will create and deploy a new application using Django, the most popular Python web application framework. The application will be set up in Docker and integrated with various cloud services such as database and media storage.
The principles covered by the tutorial will apply to any other development stack.
Set up a Divio application in the Cloud
If you have not already done so, you will need to set up the local development environment.
Create the application
In the Divio Control Panel, create a new application.
Any web application in any language can run on Divio, as long as there is nothing that prevents its being Dockerised. For convenience we provide some ready-to-go application templates in Django, Wagtail, Django CMS, Node.js, React, PHP Symfony, Java Spring Boot and others. Use of these is optional. You can also start with a Blank template, in which you build your application from a blank sheet.
For this tutorial, select:
- Platform:
Build your own - Application type:
None
Divio Applications use Git for code management. We provide a Git server that your Applications will use by default; you can also choose "External" to use another Git service if you prefer. For this tutorial, use our Divio server.
- Hit Next, then and give your application a name and select the Free Trial plan and hit Create application.
It takes a few moments to create the Application. During this process, the Control Panel defines the basic Application files for your application by adding commits to its repository. This could include assembling its Dockerfile and other files, depending on the Application type.
Application environments
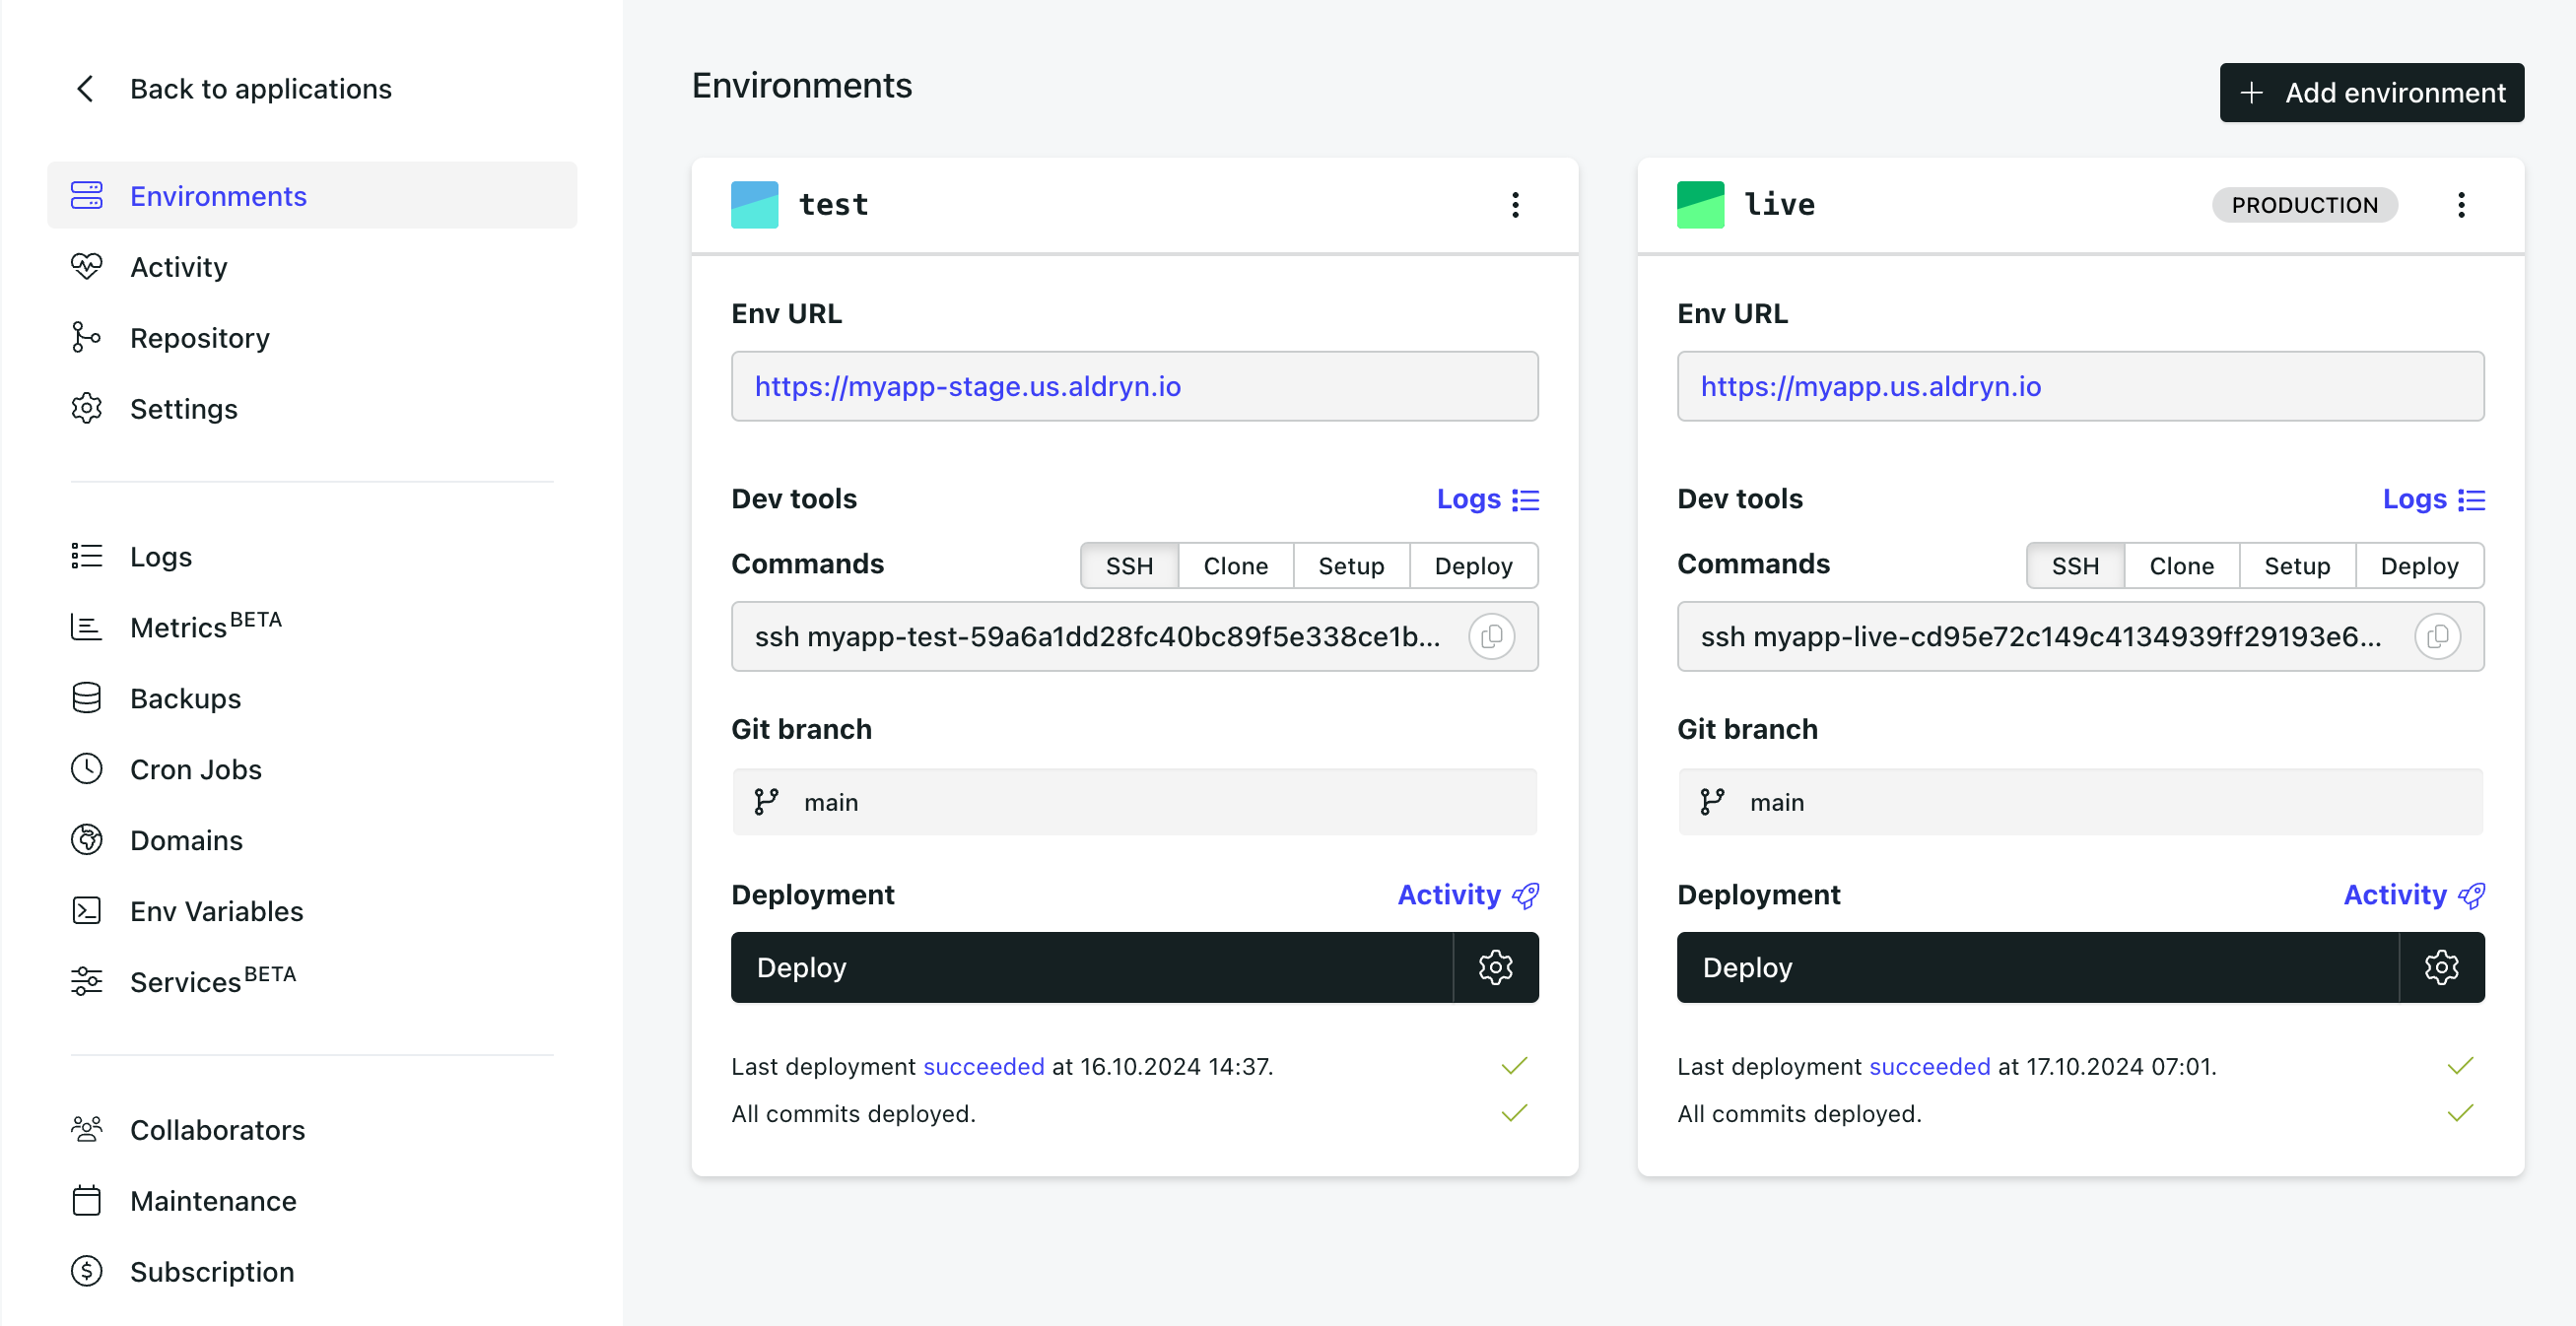
Your Application has two independent server environments, Test and Live . The Test and Live environments have their own services, and unique environment variables to configure access to them. They can be deployed independently, and can also be configured to track different Git branches.
This application is empty, so though you can try deploying it, that will fail (it will fail because the deployment process checks for a successful start up, and so far, there isn't anything to start).
About deployment
Divio requires a payment card verification as one of the counter measures against abusers. Go to the organisation settings of your application, select billing and complete the payment method to be able to deploy. The verification process won't charge your card. Refer to why Divio requires payment card verification for more details.
Any time new changes to the application code are committed to its repository, the Control Panel will indicate this with a message showing the number of undeployed commits for each of its server environments.

New code and configuration changes applied via the Control Panel (to subscriptions, cron jobs, environment variable, domains or other settings) will not take effect on either server environment until it is deployed once again.
If for whatever reason a deployment fails, there will be no down-time - the containers that are currently running will continue running, and the failing changes will not be deployed.
Explore the Dashboard
The Divio application Dashboard provides you with access to useful controls and information for the application. They are fairly self-explanatory and at this stage you don't need to interact with any of them, but it's worth familiarising yourself with what's available.
Enable Beta options
We often expose new functionality to users who opt-in to Beta features. You can do this in your account settings.