How to deploy your application to Divio
The steps outlined here assume that you have already:
- built a suitable application in Docker and prepared it for deployment (see Configure an existing web application for deployment or Create a new application)
- set up the local development environment
Create a new application on Divio
The first step is to create an application on the Divio Control Panel, with your application repository. There are three ways of doing this:
- I want to start from scratch, in which you will push your local Git code to Divio's Git server
- I already have a repository, in which your new Divio application will be created from existing Git repository
- I have some files uploaded, in which your new Divio application will be uploaded from a Git source
Creating a new application
In the Divio Control Panel, add a New application. Select the Blank template.
Importing an application from a Git repository
In the Divio Control Panel, Import an application. Once you have supplied the Git repository URL, you will need to use the public key provided to create a Deploy Key on the repository.
You should also add a webhook, so that when new commits are pushed to the repository, it will send a signal to update the Divio Control Panel.
Some limitations apply to the current version of this functionality. At the time of import:
- you will need to enable write access on the repository's deploy key
Once imported, you can remove the write access.
Connect your local application to the cloud application
Connecting a local application to a Divio application on the cloud allows you to interact with and manage the cloud application from your command-line.
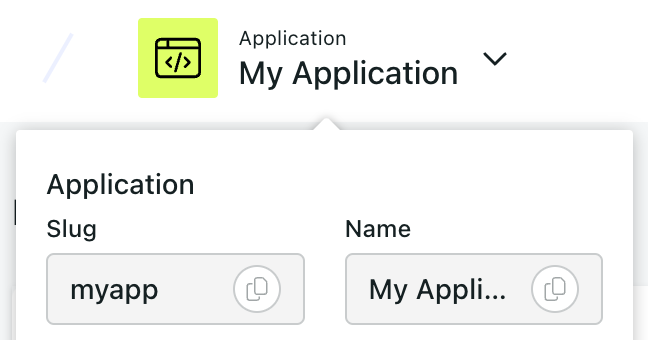
The cloud application has a slug, based on the name you gave it when you created it. Run:
divio app list -g
to get your application's slug.
You can also get the slug from the Control Panel:
Run:
divio app configure
and provide the slug. (divio app configure creates a new file in the application at .divio/config.json,
containing the configuration data.)
Configure Git (if required)
If you are using Divio's own Git server for this application rather than an external Git provider, add the application's Git repository as a remote, for example:
git remote add divio git@git.divio.com:my-divio-application.git
The Git URL is provided by the divio app configure command above, and in the Repository view of the Control
Panel.
Add database and media services
The new Divio application does not include any additional services. If your application requires a database or media store, they must be added manually using the Divio Control Panel as required. Use the Services menu to add the services your application needs.
Add release commands
If your application needs to perform operations each time it is deployed, for example start-up health tests or database migrations, these should be applied as release commands.
Add additional environment variables
Your application may require additional environment variables in production. Apply any environment variables using the Divio Control Panel or CLI.
Push local database/media content
If you have local database or media content, push them to the Test environment:
divio app push db
divio app push media
See also Divio CLI usage examples.
Push your code
Push your code to the Git repository, whether on Divio's own Git server or hosted with an external Git provider.
Set the Git branch appropriately for each of your cloud environments.
Deploy the Test server
Deploy with:
divio app deploy
(or use the Deploy button in the Control Panel).
Once deployed, your application will be accessible via the URLs shown in the Control Panel for each environment.
See our go-live checklist for a production deployment.